LED Thing Tutorial
If you haven’t already installed your IDE do so now. We are going to use PlatformIo. See the section on Getting Started with PlatformIO for details. If you prefer to use Arduino you can follow this:ref:guide <getting-started-with-arduino>.
Get the IoT-Bus examples from Github. Download or clone the PlatformIO examples from this location. The Arduino examples can be found on GitHub.
This tutorial requires an IoT-Bus Io ESP32 processor board. Once running you will be able to control the on-board LED on the IoT-Bus Io using the Mozilla-IoT browser interface. You will need to have installed the Mozilla-IoT gateway on a Raspberry PI as described here.
#include <Arduino.h>
#include "Thing.h"
#include "WebThingAdapter.h"
These lines include the Arduino framework and the Mozilla-IoT device and adapter libraries. If you are using the examples for Platformio, these libraries and their pre-requisites will automatically be installed in your project.
Note
The ESPAsyncWebServer and AsyncTCP libraries are pre-requisites and also need installing.
//TODO: Hard-code your WiFi credentials here (and keep it private)
const char* ssid = ".........";
const char* password = ".........";
Enter your WiFi ssid and password so that the IoT-Bus board can access your WiFi.
const int ledPin = 5; // manually configure LED pin
The LED is connected to GPIO 5.
WebThingAdapter* adapter;
This defines a pointer to a Mozilla-IoT adapter which is set when a new adapter is created in setup as below.
adapter = new WebThingAdapter("w25", WiFi.localIP());
const char* ledTypes[] = {"OnOffSwitch", "led", nullptr};
ThingDevice led("LED", "LED", ledTypes);
ThingProperty ledOn("On", "", BOOLEAN, "OnOffProperty");
These are the the lines of code that define the Mozilla-IoT Thing and its properties.
const char* ledTypes[] = {"OnOffSwitch", "led", nullptr};
This line defines an array of types ended by a null pointer. These types are @types, that is they are pre-defined types that the Mozilla-IoT platform understands semantically. That is, what they are and how to render and interface with them.
ThingDevice led("LED", "LED", ledTypes);
This line defines a LED named LED. Note the reference to ledTypes defining the device type or types. Officially these are described as capabilities. You can find the current list available here.
ThingProperty ledOn("on", "", BOOLEAN, "OnOffProperty");
This defines a property “on” which has a property type of OnOffProperty. Again, this is a predefined property type.
Note
There is no connection between the property and the device or adapter at this point. Although there is no mention of an adapter here, it is an adapter that connects to a gateway and exposes its capabilities.
led.addProperty(&ledOn);
adapter->addDevice(&led);
adapter->begin();
These three lines add the ledOn property to the led, then add the device to the adapter and then start the adapter. Once the adapter has started it can be recognized by the gateway.
{
"@context": "https://iot.mozilla.org/schemas/",
"@type": ["Light", "OnOffSwitch"],
"name":"LED",
"description": "LED",
"properties": {
    "on": {
    "@type": "OnOffProperty",
    "type": "boolean",
    "href": "/things/led/properties/on"
    },
This json extract illustrates What is happening under the covers. The arduino-webthing library is turning the definitions above into JSON when it is polled by the gateway. This json describes the capabilities, properties, actions and events that are possible with this device or devices. In theory there is no limit to what can be described in the schema. However, in practice if you ant to control it using Mozilla-IoT it needs to be an @type that it knows how to render or effectively fold into one of those types.
Most of the rest is boiler plate, but do note that you’ll want to take note of the ip address that is displayed on the serial monitor once WiFi has started because you can use that ip address to get the raw json response provided by the device once it is up and running. This is useful for debugging because you can see exactly what will be provided to the gateway.
adapter->update();
bool on = ledOn.getValue().boolean;
digitalWrite(ledPin, on ? HIGH : LOW); // active high led
if (on != lastOn) {
    Serial.print(led.id);
    Serial.print(": ");
    Serial.println(on);
}
lastOn = on;
In the loop function, the latest state of the adapter is obtained. If we had changed the state of the LED locally we would need to call the update function to have it reflected through the gateway. We get that current value of the property ledOn. And we use it to set the value of the LED. if it has changed we print the changed value to the serial monitor.
So now we have run through the code, let’s create a Thing and add it to the gateway.
Creating a Thing
Start up the previously installed and configured Mozilla-IoT gateway on your Raspberry Pi and look for this screen.
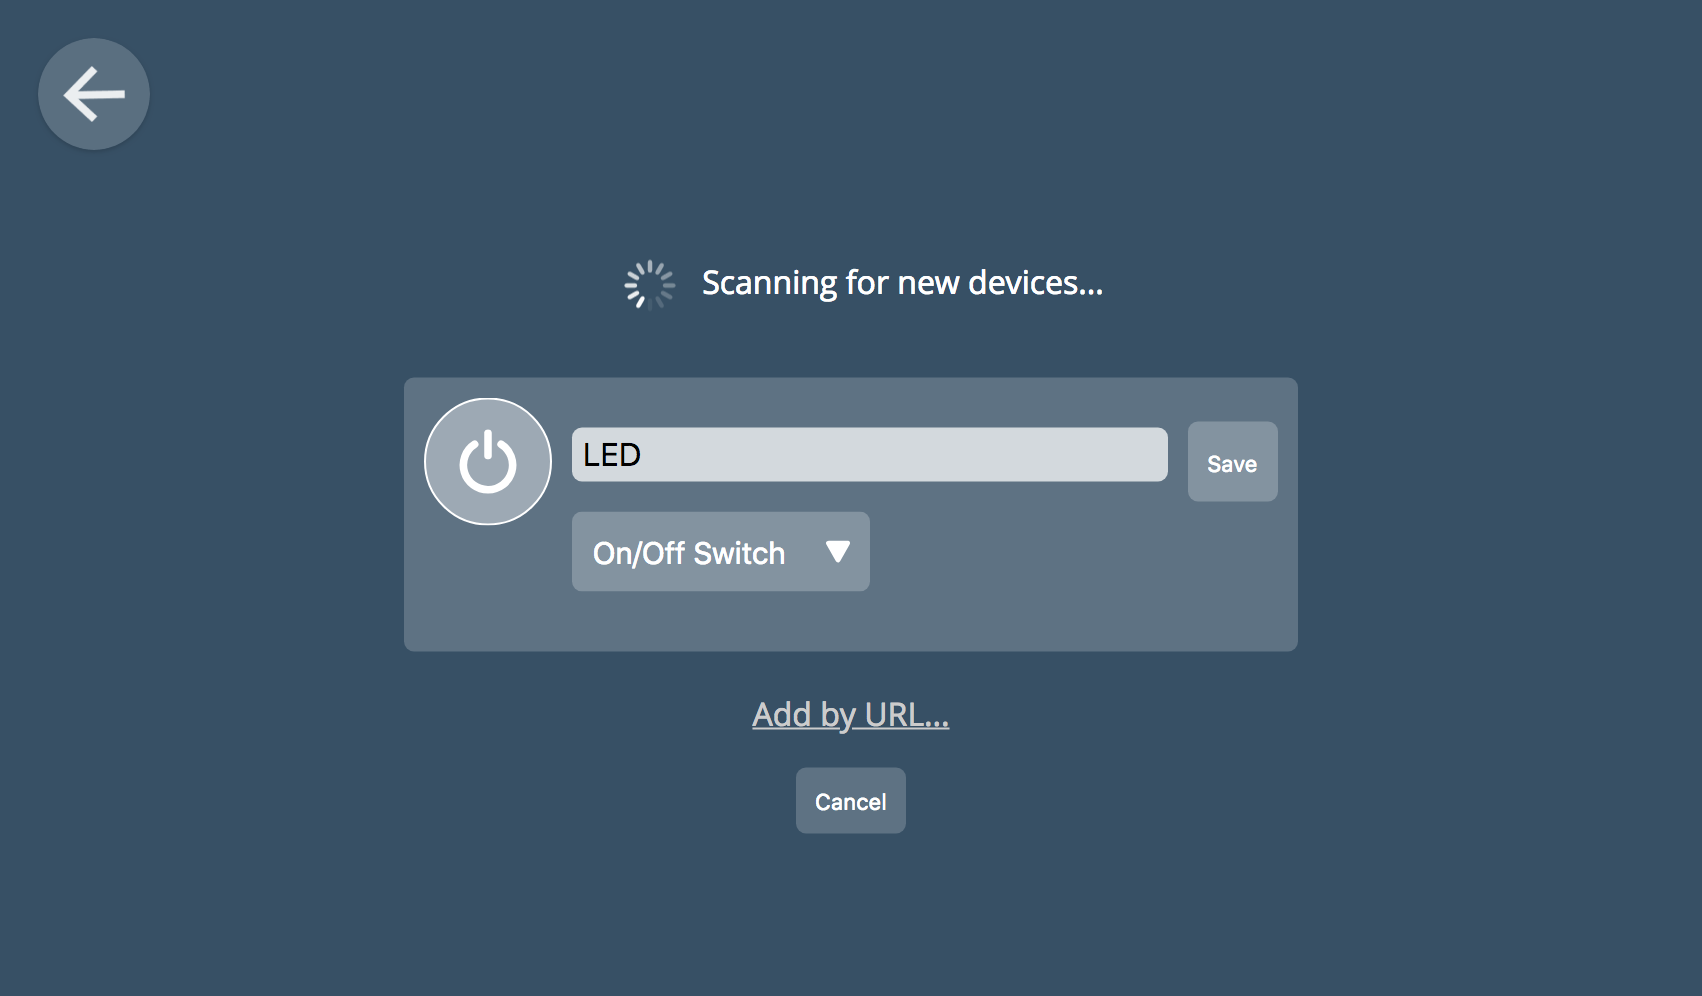
Your Thing should be found. Save it and click Done. You should now be able to click on the thing an get a display like this:
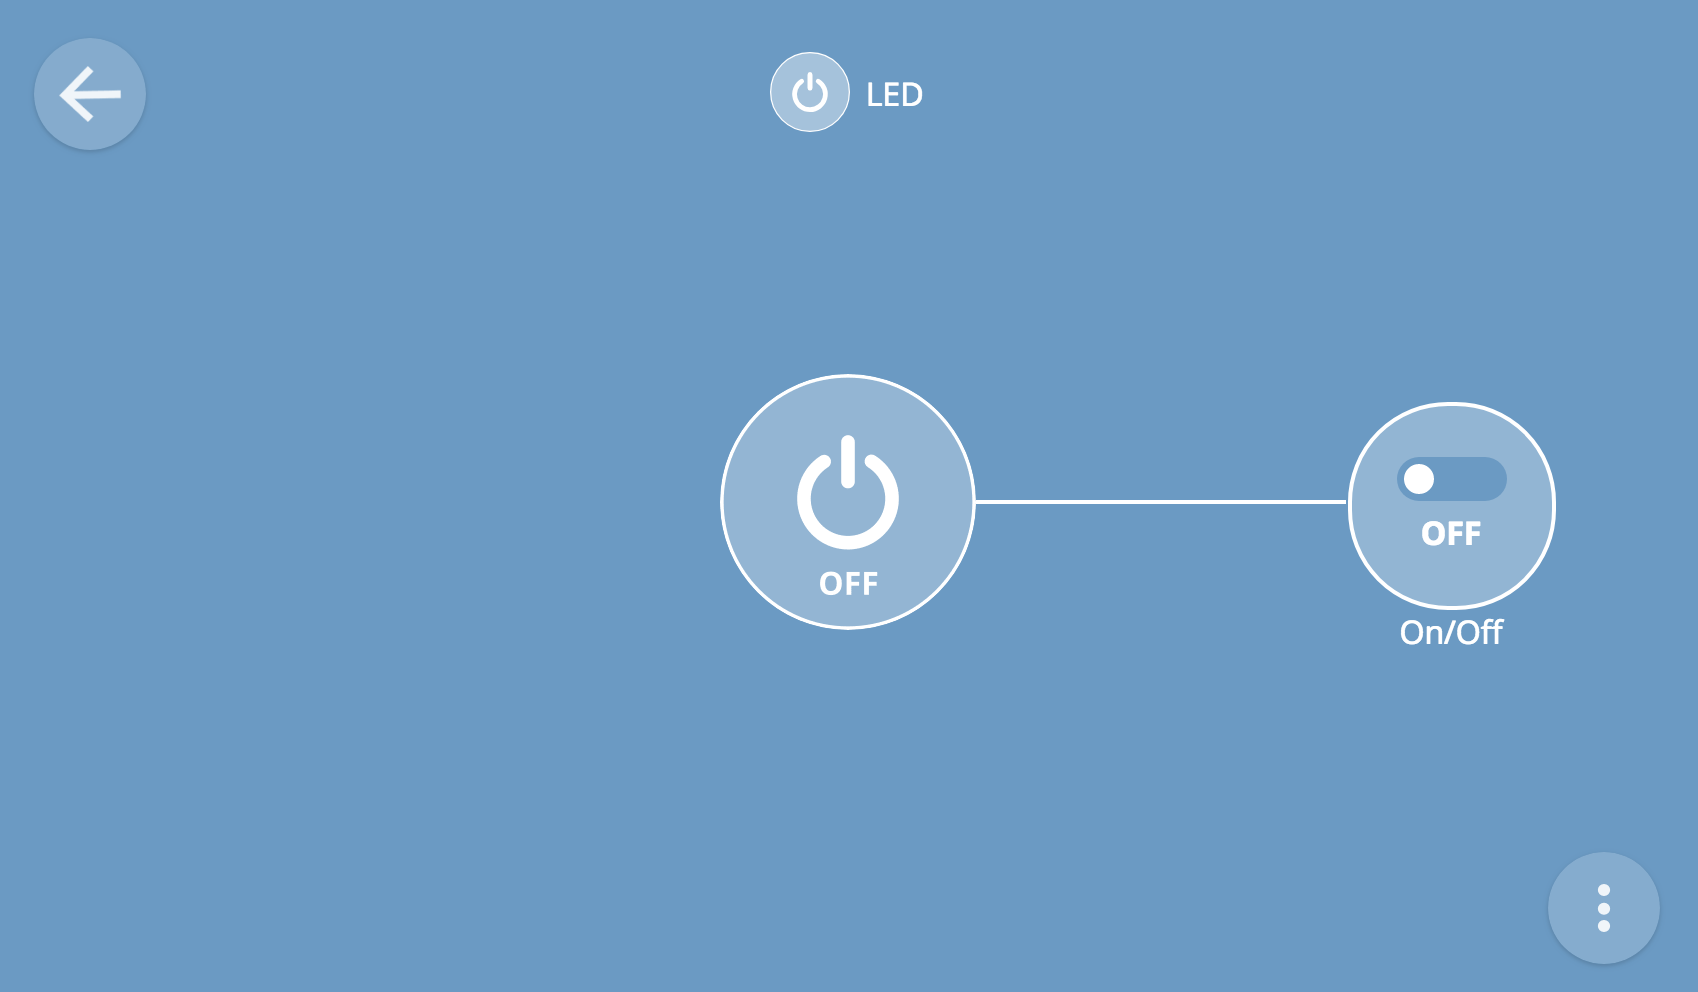
The LED should respond to you turning it off and on in the Mozilla IoT interface! There are lots more examples in the Github file you downloaded or cloned.
The full code is shown below.
/**
* Simple server compliant with Mozilla's proposed WoT API
* Originally based on the HelloServer example
* Tested on ESP8266, ESP32, Arduino boards with WINC1500 modules (shields or
* MKR1000)
*
* This Source Code Form is subject to the terms of the Mozilla Public
* License, v. 2.0. If a copy of the MPL was not distributed with this
* file, You can obtain one at http://mozilla.org/MPL/2.0/.
*/

#include <Arduino.h>
#include "Thing.h"
#include "WebThingAdapter.h"

//TODO: Hard-code your WiFi credentials here (and keep it private)
const char* ssid = ".........";
const char* password = ".........";

const int ledPin = 5;  // manually configure LED pin

WebThingAdapter* adapter;

const char* ledTypes[] = {"OnOffSwitch", "led", nullptr};
ThingDevice led("LED", "LED", ledTypes);
ThingProperty ledOn("on", "", BOOLEAN, "OnOffProperty");

bool lastOn = false;

void setup(void){
    pinMode(ledPin, OUTPUT);
    digitalWrite(ledPin, HIGH);
    Serial.begin(115200);
    Serial.println("");
    Serial.print("Connecting to \"");
    Serial.print(ssid);
    Serial.println("\"");
    #if defined(ESP8266) || defined(ESP32)
    WiFi.mode(WIFI_STA);
    #endif
    WiFi.begin(ssid, password);
    Serial.println("");

    // Wait for connection
    bool blink = true;
    while (WiFi.status() != WL_CONNECTED) {
        delay(500);
        Serial.print(".");
        digitalWrite(ledPin, blink ? LOW : HIGH); // active low led
        blink = !blink;
    }
    digitalWrite(ledPin, HIGH); // active low led

    Serial.println("");
    Serial.print("Connected to ");
    Serial.println(ssid);
    Serial.print("IP address: ");
    Serial.println(WiFi.localIP());
    adapter = new WebThingAdapter("w25", WiFi.localIP());

    led.addProperty(&ledOn);
    adapter->addDevice(&led);
    adapter->begin();
    Serial.println("HTTP server started");
    Serial.print("http://");
    Serial.print(WiFi.localIP());
    Serial.print("/things/");
    Serial.println(led.id);
}

void loop(void){
    adapter->update();
    bool on = ledOn.getValue().boolean;
    digitalWrite(ledPin, on ? HIGH : LOW); // active high led
    if (on != lastOn) {
        Serial.print(led.id);
        Serial.print(": ");
        Serial.println(on);
    }
    lastOn = on;
}